🛠️ Underfloor Heating Installation Guides
Whether you're a confident DIYer or working with professionals, our comprehensive installation guides walk you through every step of installing underfloor heating. From subfloor preparation to final commissioning, we've got you covered.
Installation Guides
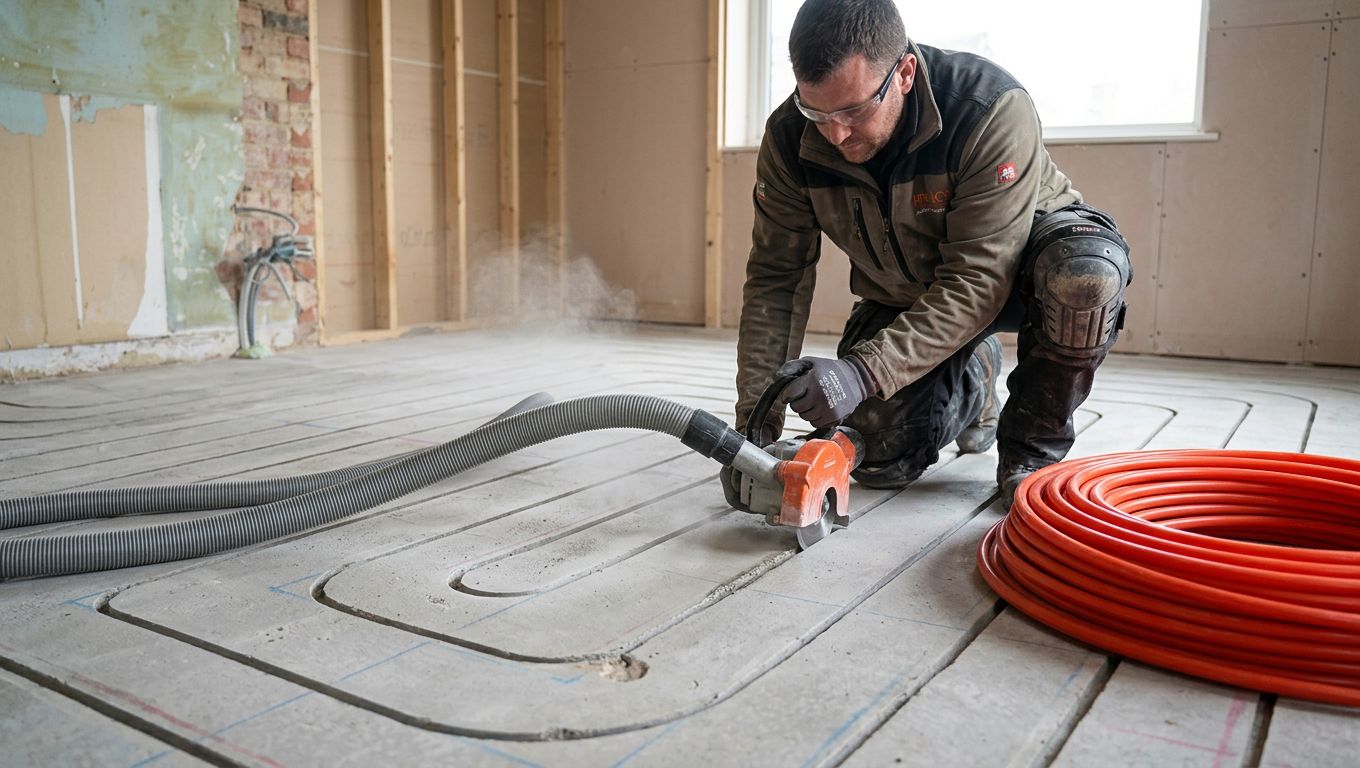 Comparison
 Underfloor Heating on Existing Concrete Floors: UK Retrofit Guide
Add underfloor heating to an existing concrete floor using overlay, milled screed or full-screed systems. Compare floor height, costs and preparation.
 Comparison
 Underfloor Heating on Suspended Timber Floors: UK Retrofit Guide 2026
Underfloor heating for suspended timber floors: compare between-joist and over-joist systems, insulation, floor height and costs for a smarter retrofit.
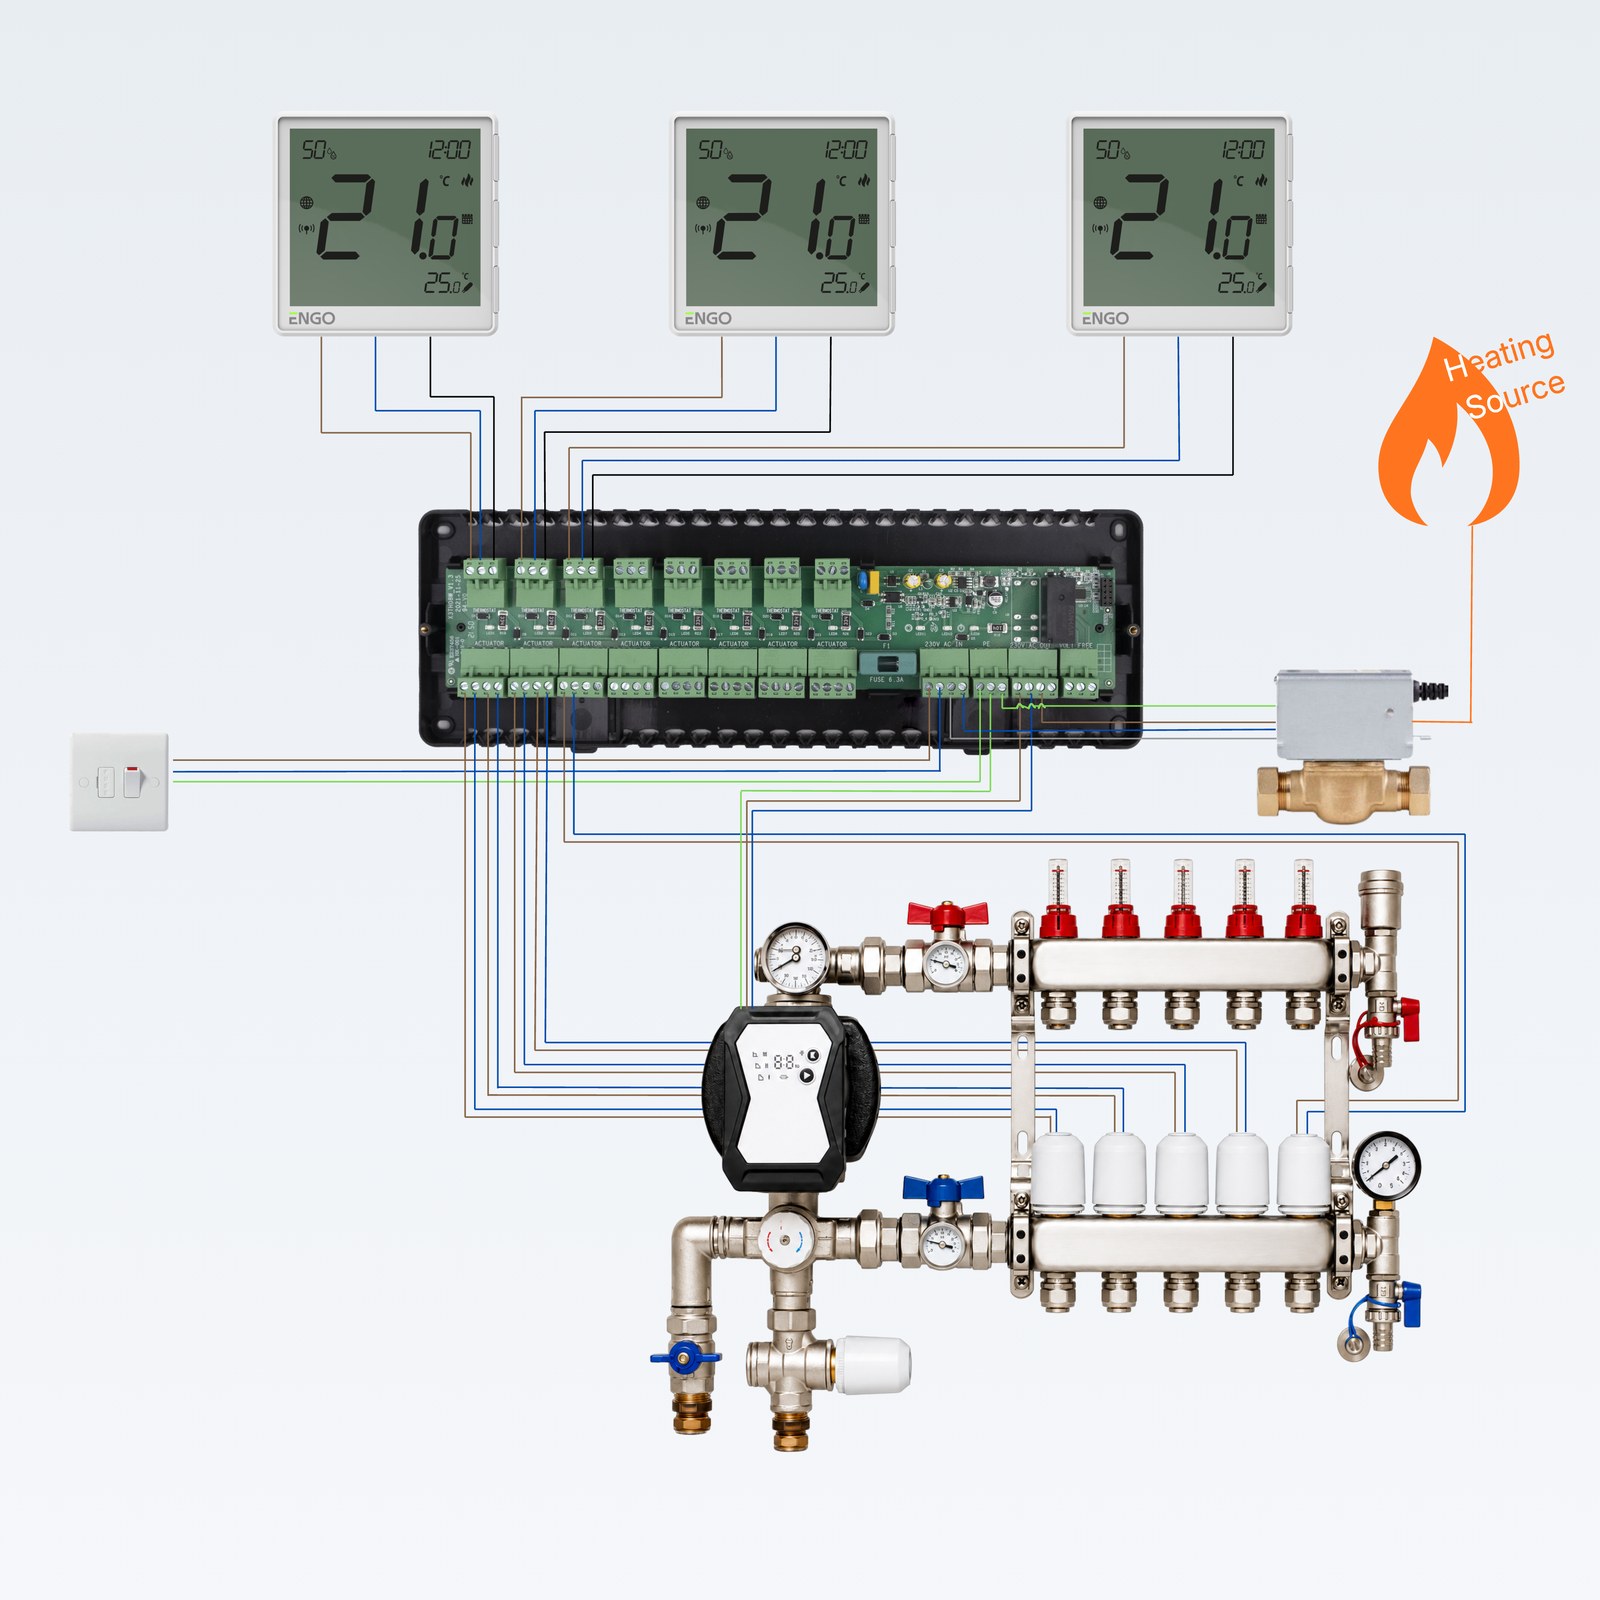 Comparison
 Underfloor Heating Wiring Diagrams: UK Guide 2026
Underfloor heating wiring diagrams explained: understand electric mats, thermostats, floor sensors, RCD protection and manifold wiring for a safer setup.
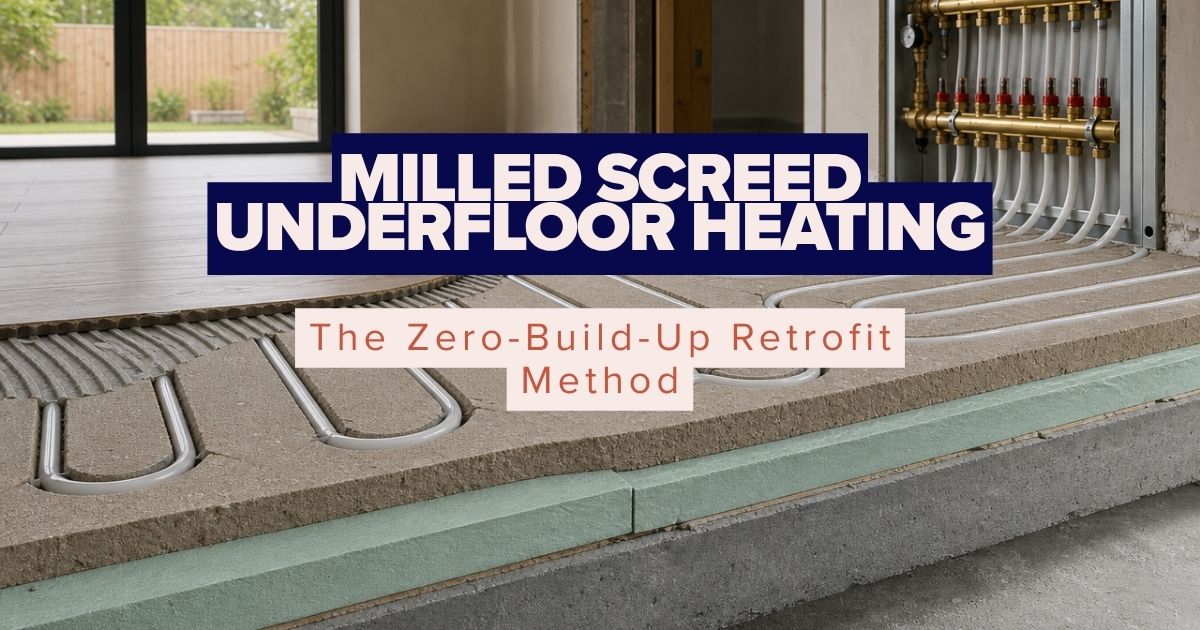 Wet systems
 Milled Screed Underfloor Heating: UK Retrofit Guide 2026
Milled screed underfloor heating cuts channels into existing floors for a wet system with no build-up. Explore the process, costs and installer options.
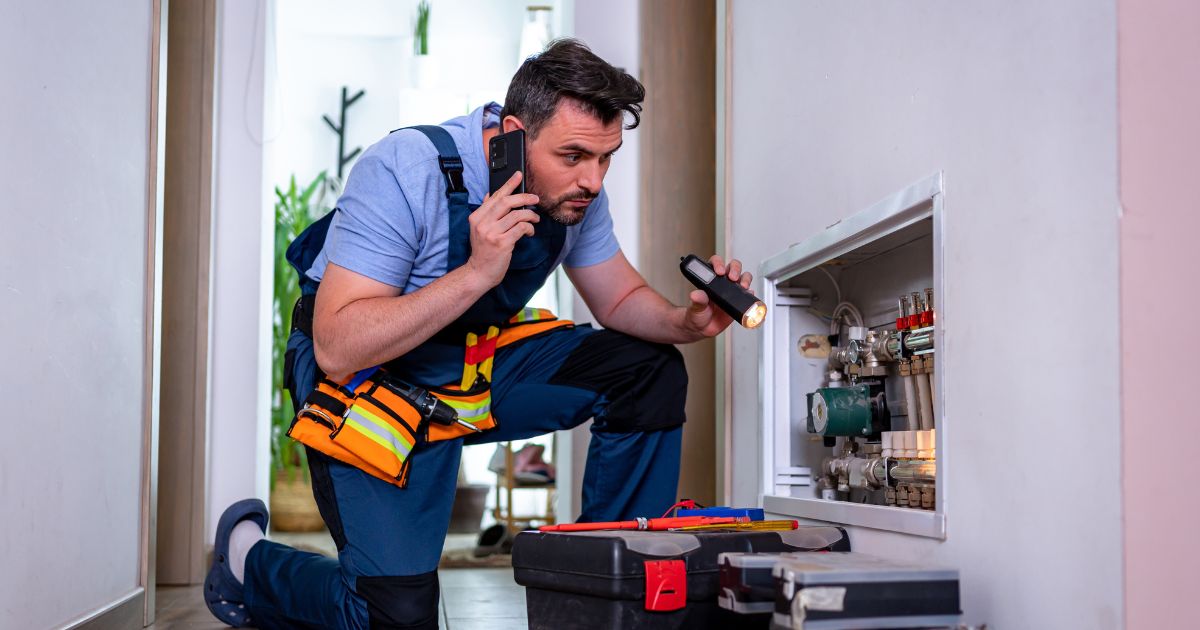 Comparison
 Underfloor Heating Installer Qualifications UK: Hiring Checklist
Check UK underfloor heating installer qualifications, including Part P, Gas Safe, MCS, insurance, references and handover paperwork. Hire with confidence.
 Wet systems
 How Much Underfloor Heating Pipe Per m²? The Complete Guide
Calculate how much underfloor heating pipe you need per m², with spacing, circuit limits, layouts and wastage explained for an accurate installation plan.
 Wet systems
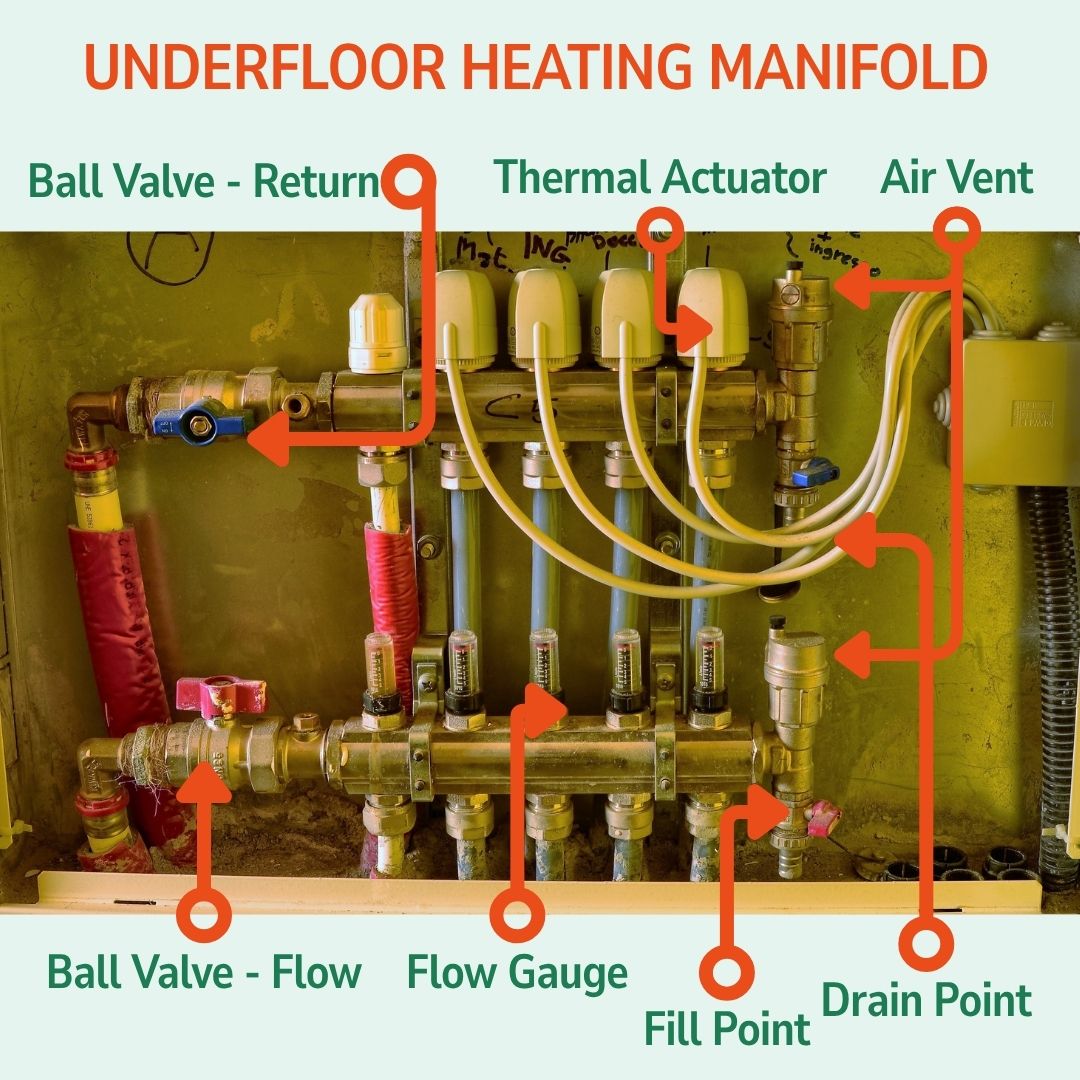
 Underfloor Heating Manifold Diagram & Guide: How It Works (UK 2026)
Use our underfloor heating manifold diagram to understand flow, return, actuators, balancing, sizing and faults, so your wet UFH system works efficiently.
 Comparison
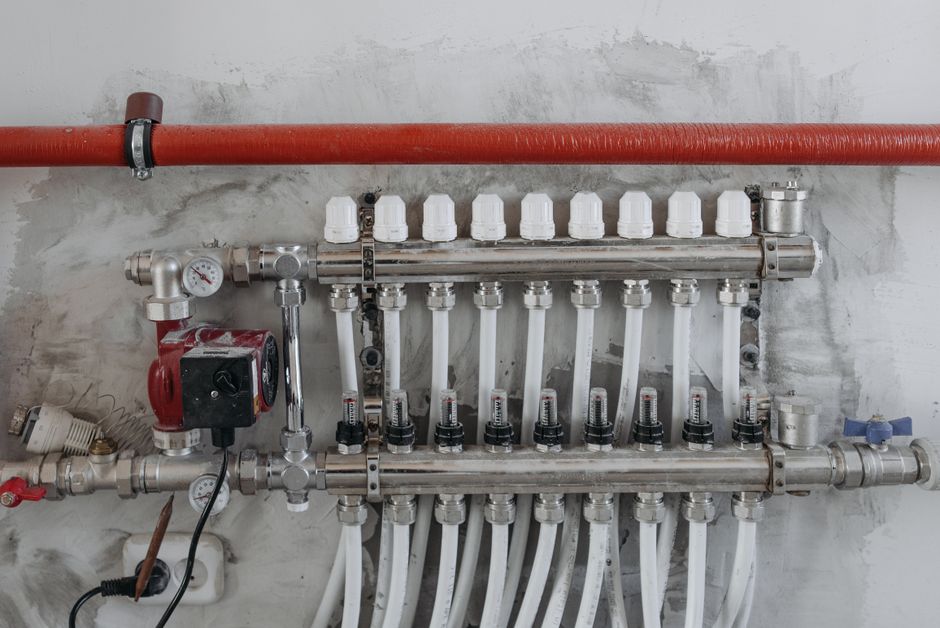
 DIY Underfloor Heating: UK Installation Guide for Homeowners
Learn which DIY underfloor heating jobs you can safely tackle, when electricians or plumbers are required, and how to plan a successful UK installation.
 Wet systems
 Underfloor Heating in New Builds: Complete UK Self-Build Guide
Plan underfloor heating in a new build with UK costs, system choices, heat pump guidance and installation advice to create an efficient, comfortable home.
 Wet systems
 Underfloor Heating Screed: Types, Depth and Drying Times UK Guide
Learn the best underfloor heating screed types, correct depths, drying times and common problems for a reliable, efficient UK installation. Get it right.
Comparison Retrofitting Underfloor Heating: Complete UK Costs & Systems Guide
Learn how to retrofit underfloor heating in a UK home, including costs, low-profile systems, floor height and installation options to plan with confidence.
 Comparison
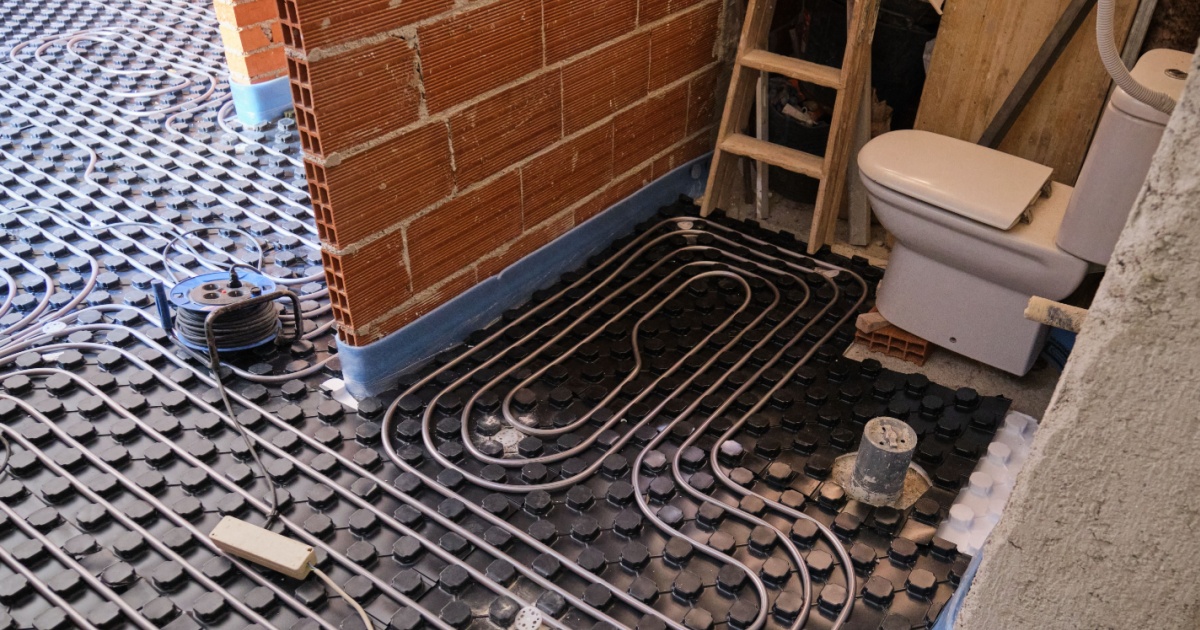
 Bathroom Underfloor Heating: Complete Installation & Cost Guide 2026
Discover bathroom underfloor heating costs, system choices and installation advice for warm, efficient floors. Plan your bathroom upgrade with confidence.
 General guide
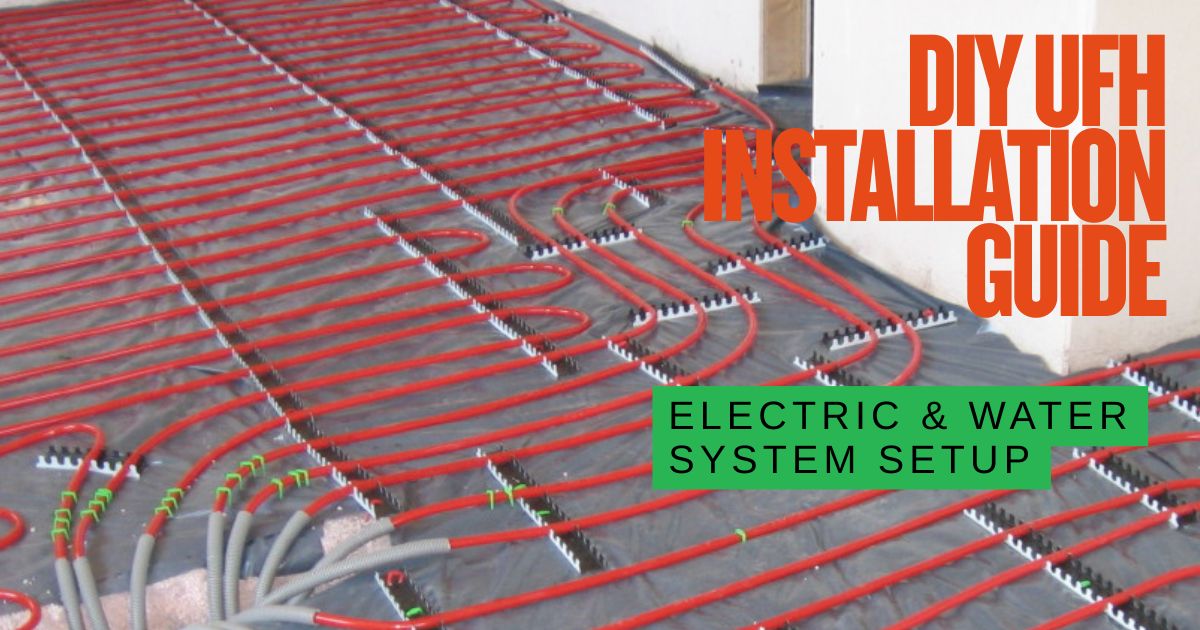
 DIY UFH Installation Guide: Electric & Water System Setup 2026
Learn how to install electric or water underfloor heating, including tools, preparation and common mistakes, for a safer, more successful DIY installation.
Installation Overview: What to Expect
Installing underfloor heating transforms your home's comfort, but success depends on careful execution at every stage. Electric systems offer simpler installation suitable for DIY, typically completed in 1-2 days per room. Water-based systems require more expertise and time, with installation spanning 3-5 days plus screed drying time.
The installation process affects your daily routine differently depending on the system chosen. Electric installations allow you to maintain use of adjacent rooms, while water system installation, particularly when screeding, requires areas to be completely cleared and avoided for several weeks during curing.
Electric system per room
Water system installation
Screed drying time
System lifespan
DIY vs Professional Installation
✓ DIY-Friendly Tasks
Electric Mat Installation
Pre-spaced heating mats are designed for DIY installation. Follow manufacturer guidelines, test thoroughly, but have final electrical connections certified.
Subfloor Preparation
Leveling, cleaning, and installing insulation boards can be completed by competent DIYers with basic tools and patience.
Basic Pipe Laying (Water)
With proper planning, DIYers can lay pipes to specification, though manifold connection and commissioning need professionals.
⚡ Professional-Only Tasks
Electrical Connections
Part P regulations require certified electricians for consumer unit connections and final commissioning. Non-compliance voids insurance.
Boiler Integration
Connecting wet UFH to existing heating requires Gas Safe registered engineers. Includes pump sizing, controls, and system balancing.
Screed Application
Achieving correct depth, levels, and finish requires experience. Poor screeding causes cracking, uneven heating, and system failure.
💰 Cost Comparison: DIY installation can save 30-50% on labor costs (£500-£2,000 typically), but mistakes can cost significantly more to rectify. Factor in tool rental, time investment, and potential remedial work when deciding.
Installation Timeline & Process
Electric System Installation (1-2 Days)
- • Clear and clean subfloor
- • Install insulation boards
- • Mark heating zones
- • Lay heating elements
- • Install floor sensor
- • Initial testing
- • Thermostat installation
- • Connection to supply
- • System testing
- • Apply adhesive/compound
- • Lay tiles or flooring
- • Final commissioning
Water System Installation (3-5 Days + Drying)
⚠️ Critical Installation Mistakes
Cable/Pipe Damage
Never cut heating cables to fit. Avoid walking on laid cables. Test continuity after each stage. One nick can destroy entire system.
Insufficient Insulation
Skipping insulation increases heat-up time by 50% and running costs by 30%. Always insulate, especially on ground floors.
Poor Testing
Failing to test before covering makes fault-finding impossible. Document all test results for warranty claims.
Rushing Screed Drying
Forcing quick drying causes cracking. Follow manufacturer's programme exactly - typically 1mm per day drying rate.
✓ Installation Best Practices
Document Everything
Photograph each stage, especially before covering. Mark cable/pipe routes on plans. Keep all test certificates.
Test Continuously
Check resistance after laying, before screed, after screed, before flooring. Early detection prevents major repairs.
Follow Specifications
Never deviate from manufacturer instructions. Use specified adhesives, maintain correct spacing, respect temperature limits.
Plan Access Routes
Mark safe walking paths during installation. Protect installed areas with boards. Prevent accidental damage from other trades.
Essential Tools & Equipment
Basic Tools (All Systems)
- • Digital multimeter
- • Insulation tester
- • Spirit level (3m)
- • Chalk line
- • Camera for documentation
- • PPE equipment
Electric System Specific
- • Cable strippers
- • Electrical tester
- • Tile adhesive spreader
- • Grout float
- • Heat gun (repairs)
Water System Specific
- • Pipe bender/former
- • Pressure test kit
- • Pipe cutters
- • Staple gun
- • Flow meter
- • Screed rake
Tool Hire Option: Many specialist tools can be hired for £30-50/day. Factor this into DIY cost calculations versus purchasing tools you'll rarely use again.
Safety & Compliance Requirements
Building Regulations
- • Part L: Energy efficiency requirements including insulation standards
- • Part P: Electrical safety certification required
- • Part E: Sound insulation between floors
- • Building Control: Notification may be required
Safety Essentials
- • Electrical isolation: Always isolate circuits before work
- • RCD protection: Mandatory for all UFH circuits
- • Temperature limits: Floor sensors prevent overheating
- • Certification: Keep all test certificates for insurance