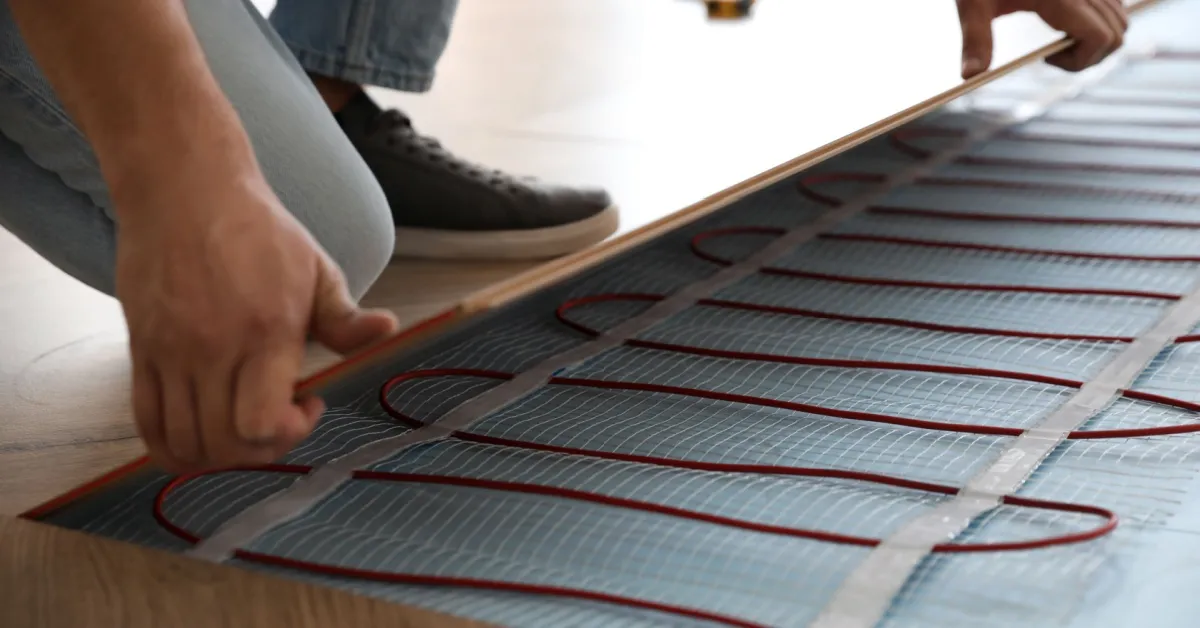
Preparing the subfloor is the part people rush. They install the heating element or pipe, cover it up and then discover that the floor was damp, uneven or unable to take the load. That mistake is expensive because the finished floor usually has to come back up.
A good UFH subfloor should be stable, clean, suitably dry, level enough for the chosen system, and able to carry the insulation, heating and finish above it. The exact preparation depends on whether you are fitting electric mats or loose cable, a water-based pipe system, or a floor build-up that will be screeded.
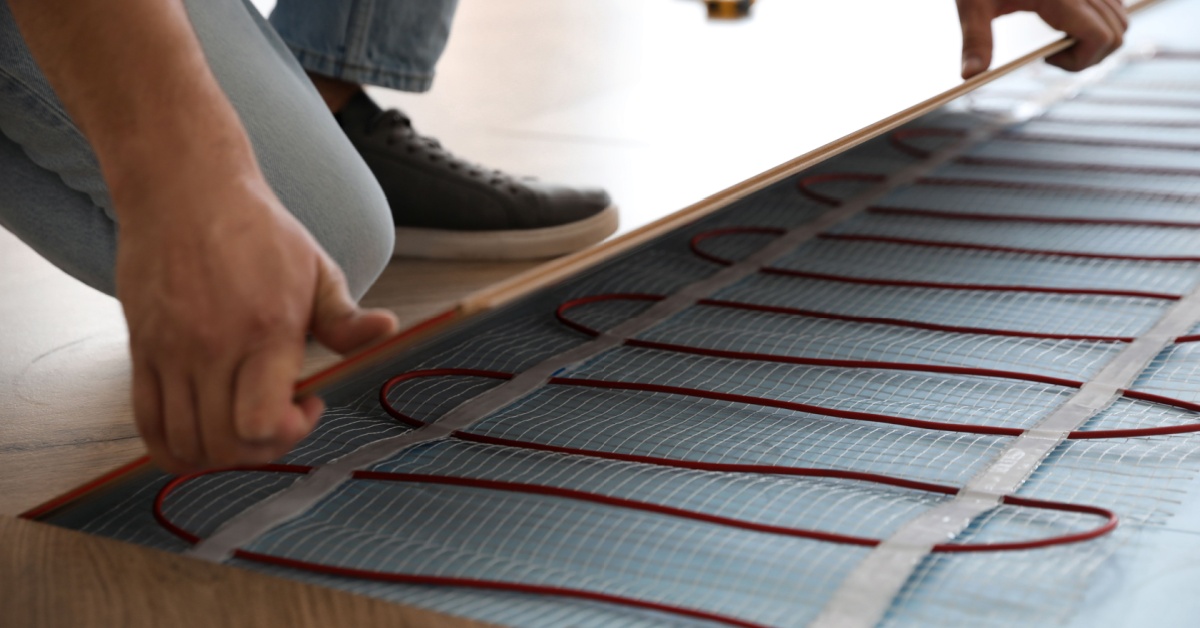
What does a UFH subfloor need?
Before buying materials, decide how the floor will be built. A basic wet system normally needs a suitable base, continuous insulation, pipe supports, pipework, a screed or overlay and a compatible floor finish. An electric system needs the correct substrate, a fixing method, the mat or cable, a floor sensor and a suitable adhesive or levelling compound.
A concrete slab that works for an electric mat may need different treatment from a timber deck carrying water-based pipework. Follow the heating product instructions and confirm the floor build-up and clearances before work starts. For the wider process, see our underfloor heating installation guide.
Start with the floor structure
Identify what you are working on before removing anything:
- a concrete slab;
- a cement or anhydrite screed;
- a suspended timber floor with floorboards or a deck;
- an existing tiled floor, vinyl or another bonded finish;
- a new screed or levelling build-up.
Look for movement, cracks, damp staining, hollow tiles, loose boards, previous repairs and signs of water ingress. Check the floor level, the available build-up height and what happens at thresholds, door openings, stairs and service penetrations.
A surface can look fine and still be a poor base. Tiles may sound hollow underneath, an old screed may be weak at the edges, or a timber board may flex underfoot. Find those problems before the heating goes down.
Preparing a concrete subfloor
Concrete is a common UK ground-floor base. It is usually stable, but it still needs inspection, cleaning and moisture control.
- Remove the existing finish. Take off tiles, carpet, vinyl, adhesive and loose material until you reach a sound concrete surface.
- Repair defects. Fill small holes and minor surface damage with a compatible repair product. Wider, deeper or stepped cracks need a proper assessment, especially in an older slab.
- Check the level. Use a long straightedge and measure the high and low points over more than one direction. The required tolerance comes from the heating and floor-finish system, so check the product instructions before buying levelling compound.
- Check for moisture. Look for damp areas, tanking failures and condensation risk. Use the moisture test specified by the flooring, adhesive or UFH manufacturer. Results from a surface meter should not be treated as a complete test on their own.
- Clean the slab. Vacuum thoroughly and remove dust, oil, paint splashes and old adhesive. A primer may be required before self-levelling compound or tile adhesive.
- Allow the levelling material to cure. Do not install insulation, pipe or an electric mat just because the surface feels touch-dry. Follow the product’s curing instructions.
For a concrete retrofit, you also need to decide whether to use an overlay, mill channels for a specialist wet system or install a thin electric system. Our existing concrete floor guide explains the main routes.
Preparing screed floors
A screed may be the base for a new water-based system, or it may be the finished structural base for an electric system. Its condition and age matter more than the label on the original screed specification.
Check that the screed is bonded, sound and free from widespread cracking. Look for delamination, hollow areas and powdering. Repairing a few small defects is sensible, but a badly bonded or contaminated screed may need removal and rebuilding.
Use the screed supplier’s moisture test. Cement screed and liquid screeds can dry at different rates, and adding a heating system or a water-based screed over damp material can cause cracking, lifting or trapped moisture. Do not rely on a fixed moisture percentage without knowing which test method produced it.
The surface must be prepared for the next layer. A cement screed may need grinding, vacuuming and priming. A liquid anhydrite screed may need to be sanded if the surface skin prevents adhesion. Only use a product that is compatible with the screed and the adhesive or levelling compound above it.
If you are pouring a new screed over water-based UFH, follow the pipe spacing, cover, reinforcement or fibre requirements in the screed guide. Expansion joints, movement joints and perimeter separation are part of that design, not optional decoration.
Preparing timber subfloors
Suspended timber floors need more care than a concrete slab because they can flex, move and be affected by ventilation. If the floor is an upper floor, make sure the structural deck, joists and any supporting walls are sound before adding load.
For boards, remove loose or damaged sections and secure the remaining deck. Do not simply lay a dense screed over an unknown or springy floor. A qualified structural tradesperson should assess significant deflection, rotten joists, notched timbers or a floor that needs structural alterations.
There are two common wet-system approaches:
- Between joists: pipes and heat-spreader plates sit in the joist void. The installer needs access below and must preserve ventilation.
- Over joists: pre-grooved panels are laid on the deck, adding height but simplifying access.
Electric mats can be installed on a suitable prepared timber deck, subject to the mat manufacturer’s requirements. Check the board strength, moisture condition, movement and the chosen adhesive or compound. The timber substrate must be stable while the floor finish cures.
Our suspended timber floor guide covers the structural and ventilation issues in more detail.
What to do with an existing tiled floor
You can sometimes install UFH over an existing tiled floor, but you should not assume that the tiles are the correct base.
First, check whether the tiles are firmly bonded. Tap across the floor and listen for hollow areas. Remove any loose, cracked or moving tiles. Decide whether the old adhesive is compatible with the new insulation, levelling compound, adhesive or screed.
If tiles must stay, they still need to be cleaned, repaired and treated as the base of the finished floor. Levelling alone cannot solve a hollow or moving substrate. If the old floor is the final tile surface, the heating system must be designed for the tile, adhesive and any waterproofing layer above it.
Do not install electric heating over a damp or failing tiled area. Water can damage insulation, wiring accessories and adhesives, and a leak may not become visible until the floor is covered.
Moisture checks are a system requirement
Moisture testing depends on the floor build-up and the materials that will sit above it. Useful checks can include:
- visual inspection for damp, staining or leakage;
- a manufacturer-specified surface or concrete moisture test;
- relative-humidity testing in a slab or screed where specified;
- checking that the floor is ready for the next trade, not merely dry to the touch.
Keep a record of the test used, the date, the result and the product requirements it was checked against. If the result is borderline, get advice before proceeding. Adding insulation, a screed or a bonded finish can trap moisture that was previously able to dry out.
A membrane may be required because of the floor construction, adjoining materials or final finish. Choose it as part of the designed assembly, not as a generic damp-proof sheet for every project.
Flatness, insulation and the floor build-up
A clean floor is not necessarily a flat floor. Unevenness can create air gaps beneath pipework, make pipe routing difficult and show through tile, vinyl or wood. Check the tolerance required by the heating system and the floor finish, then grind, patch or use a suitable levelling compound.
Insulation should be continuous beneath the heated area and arranged to direct heat upwards. Tape joints, seal edges and keep the perimeter detail in line with the system design. Read our floor insulation guide before choosing a board or thickness.
For water-based UFH, check the available floor height, screed depth, insulation thickness and any edge insulation as a complete calculation. For electric mats, use the substrate and fixing method specified by the manufacturer. Never place an unapproved insulating layer directly against a heating cable or element.
Expansion and movement joints
Concrete and screed can move as they dry and respond to temperature changes. Expansion joints and movement joints need to continue through the relevant layers, without being accidentally filled or bridged by screed, adhesive or insulation.
A screed bay should be planned around the joints specified for its type and layout. Pipework must be installed so it can move as designed, and pipework should not be trapped across a movement joint unless the system design specifically allows it. This is especially important in large rooms, long runs and rooms with unusual shapes.
Do not cut random grooves after the screed has started to set. The joint positions and reinforcement details need to be decided before work begins. Where a new screed meets an existing slab, wall, threshold or different floor finish, the junction detail also needs a deliberate movement strategy.
Floor sensors and controls
Electric UFH normally needs a floor-temperature sensor in addition to room-temperature control. The sensor measures the floor construction rather than the air temperature in the room. Its reading depends on where it sits, so placement matters.
Install the sensor in the heated zone, between the heating lines or mat runs where the manufacturer recommends, and protect the sensor from damage during later work. Do not place it in a cold corner, directly under fixed furniture or in a position where the floor finish will prevent it from reading the construction correctly. A groove may be cut in the substrate, but do not cut the heating cable or mat.
Thermostat location, wiring, protection and commissioning are electrical work. The sensor cable should be installed in suitable conduit and connected according to the thermostat instructions. A qualified electrician should carry out or sign off the final connection, testing and certification. The GOV.UK Approved Document P explains the electrical safety requirements for dwellings in England.
What can a competent DIYer do?
Preparation can be DIY work for a careful homeowner, but only when the system design and local requirements are clear. A competent DIYer can usually:
- remove an existing floor finish where it is safe to do so;
- inspect for obvious defects and record measurements;
- clean, vacuum and prepare a sound surface;
- repair minor, non-structural defects with suitable products;
- lay the specified insulation and follow the board manufacturer’s joint and edge instructions;
- install a mat or lay pipework if they have the relevant experience and the design is already approved;
- fit the floor sensor in the position specified by the manufacturer;
- make good and clean the area ready for the next trade.
That does not mean every floor is suitable. A DIYer should stop and get a qualified tradesperson where there is structural movement, extensive cracking, uncertain moisture, a rotten or weak timber structure, a gas connection, a manifold connection, pressure testing, a screed specification that is not clear, or any work affecting gas, electrical circuits or load-bearing parts.
For electric floor heating, the final fixed wiring and supply connection need a competent electrician. Electric floor heating is a special installation under the UK Building Regulations, and the correct notification route depends on the project and the installer’s status.
For water-based UFH, get a qualified heating engineer or plumber to design and connect the manifold and heat source, pressure-test the pipework and commission the system before it is covered. A tradesperson should also handle a screed over pipework when the specification, curing process and risk of hidden leaks are beyond the DIYer’s experience.
Common preparation mistakes
The most common errors are easy to avoid:
- installing over dust, old adhesive or damp flooring;
- using a surface moisture reading without knowing what the next layer requires;
- covering an uneven floor with thin adhesive and hoping the finish will hide it;
- leaving gaps between insulation boards;
- running heating cable or pipe across a movement joint;
- cutting a floor sensor groove through the heating element;
- confusing a flat-looking surface with a level surface;
- adding a screed to a timber floor without checking its structure and ventilation;
- covering pipework before pressure testing and recording the result;
- allowing the screed, adhesive or levelling compound to be covered before it has cured.
The practical preparation checklist
Before you call the next trade, confirm that:
- the floor type and structure are understood;
- defects and structural concerns have been resolved;
- moisture tests meet the relevant product requirements;
- the floor is clean, sound and prepared for the specified adhesive or screed;
- the level is within the system and floor-finish tolerance;
- insulation is continuous, sealed and correctly placed;
- expansion and movement joints are planned;
- the sensor position is recorded and protected;
- electric connections and water-system connections are assigned to the right qualified tradesperson;
- photographs and test results have been kept for the handover.
Preparation is not glamorous, but it protects the heating system and the finished floor. Get the base right first, and the rest of the installation has a much better chance of producing even heat and lasting for years.
Sources and further reading
- CIBSE Guide A: Environment Design, 2016 edition, including sections on solid and timber floors, insulation, pipework, sensors, screeds and commissioning.
- GOV.UK Approved Document P: electrical safety, dwellings, for electrical safety requirements in dwellings in England.
- Danfoss indoor cable floor heating application manual, for manufacturer guidance on electric floor heating, sensors and installation.
Related reading
- Underfloor heating installation guide
- Underfloor heating floor insulation
- Underfloor heating screed types, depth and drying times
- Underfloor heating on existing concrete floors
- Underfloor heating on suspended timber floors
One useful email,
once a month.
New guides as they go live. Real cost data, not press releases. The occasional rumour from the industry that's actually worth knowing.
No sales pitches. No jargon. Unsubscribe in one click.